Showing posts with label homemade. Show all posts

Thursday, December 16, 2010

Homemade Jerky - Part 2

I know you've been waiting anxiously for this, so here's the finale of the homemade jerky extravaganza!!!

So you've marinated your beef overnight and it's getting nice and flavorful. The jerky you see below marinated overnight before I drained it and made the final prep for the dehydrator.
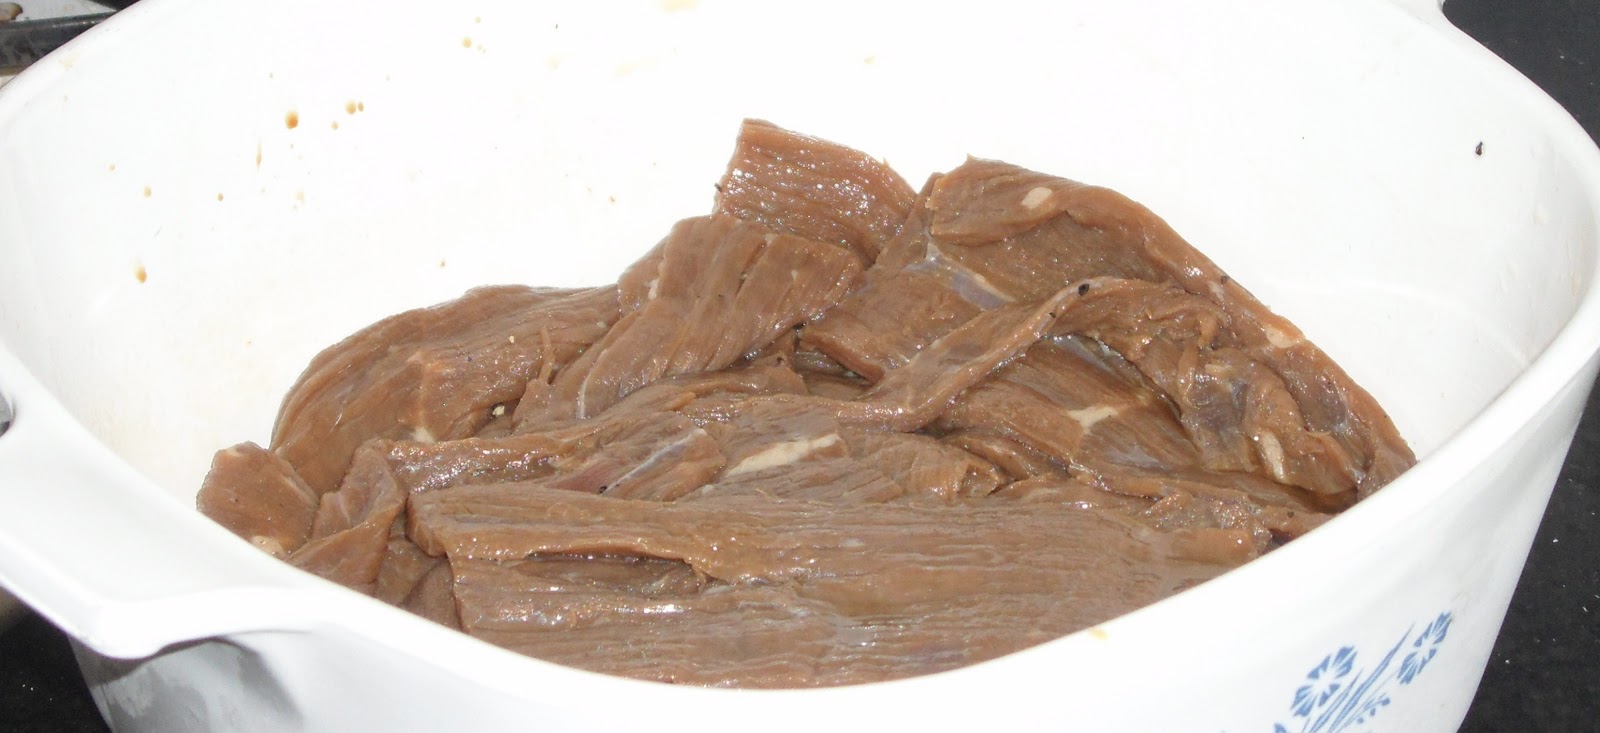

Drain the beef thoroughly and remove any remaining moisture by placing the individual pieces on a double thick paper towel. I lay mine out in rows and then roll them up so the paper towel pulls off the moisture on both sides. Feel free to press firmly with your hands when you roll, beef can take a little man-handling.


The surface of each piece should feel pretty dry to the touch once you've patted it down via the paper towel method. The surface should also look dry and no liquid should be welling up. Place the pieces in an evenly on a rack of your dehydrator.


Once you're dried every piece thoroughly and loaded your dehydrator, it's time to get cooking. Well, not cooking, we're drying! Now, my dehydrator only goes on and off so the way to regulate temperature is by opening or closing vents on the top and bottom. I leave my vents at half and half so that most of the heat from the coil in the bottom is retained, but there's still space for moisture to vent. I highly recommend you consult the manual for your dehydrator before determining the temperature and duration for drying your jerky as it can vary greatly.

The top half of my dehydrator has apples and orange slices, while I put the more "wet" jerky on the lower trays
Vents half-open, I left my jerky for about 6 hours before checking it. The great thing about using a consistently low temperature dehydrator is you don't have to worry about the temperature or moisture level changing as long as you leave it alone. There are recipes for using an oven at 200 degrees but honestly I think that's too high to achieve great jerky results. It cooks faster than it dries and it's easier to burn as a result.

After 6 hours most of my jerky was done to perfection. About a third of the thicker pieces still needed some time, so I left them in for a few more hours. When you're not sure about how long your jerky will take, just check it every hour or do and do a doneness* test.

How to know doneness of your jerky:
  • Meat has turned a dark brown/black color
  • There are no "shiny" spots on the meat, that is, the fat has thoroughly melted into the meat and any moisture has evaporated
  • It's crunchy - bite into it, does it taste like jerky? That's always a good sign :) 
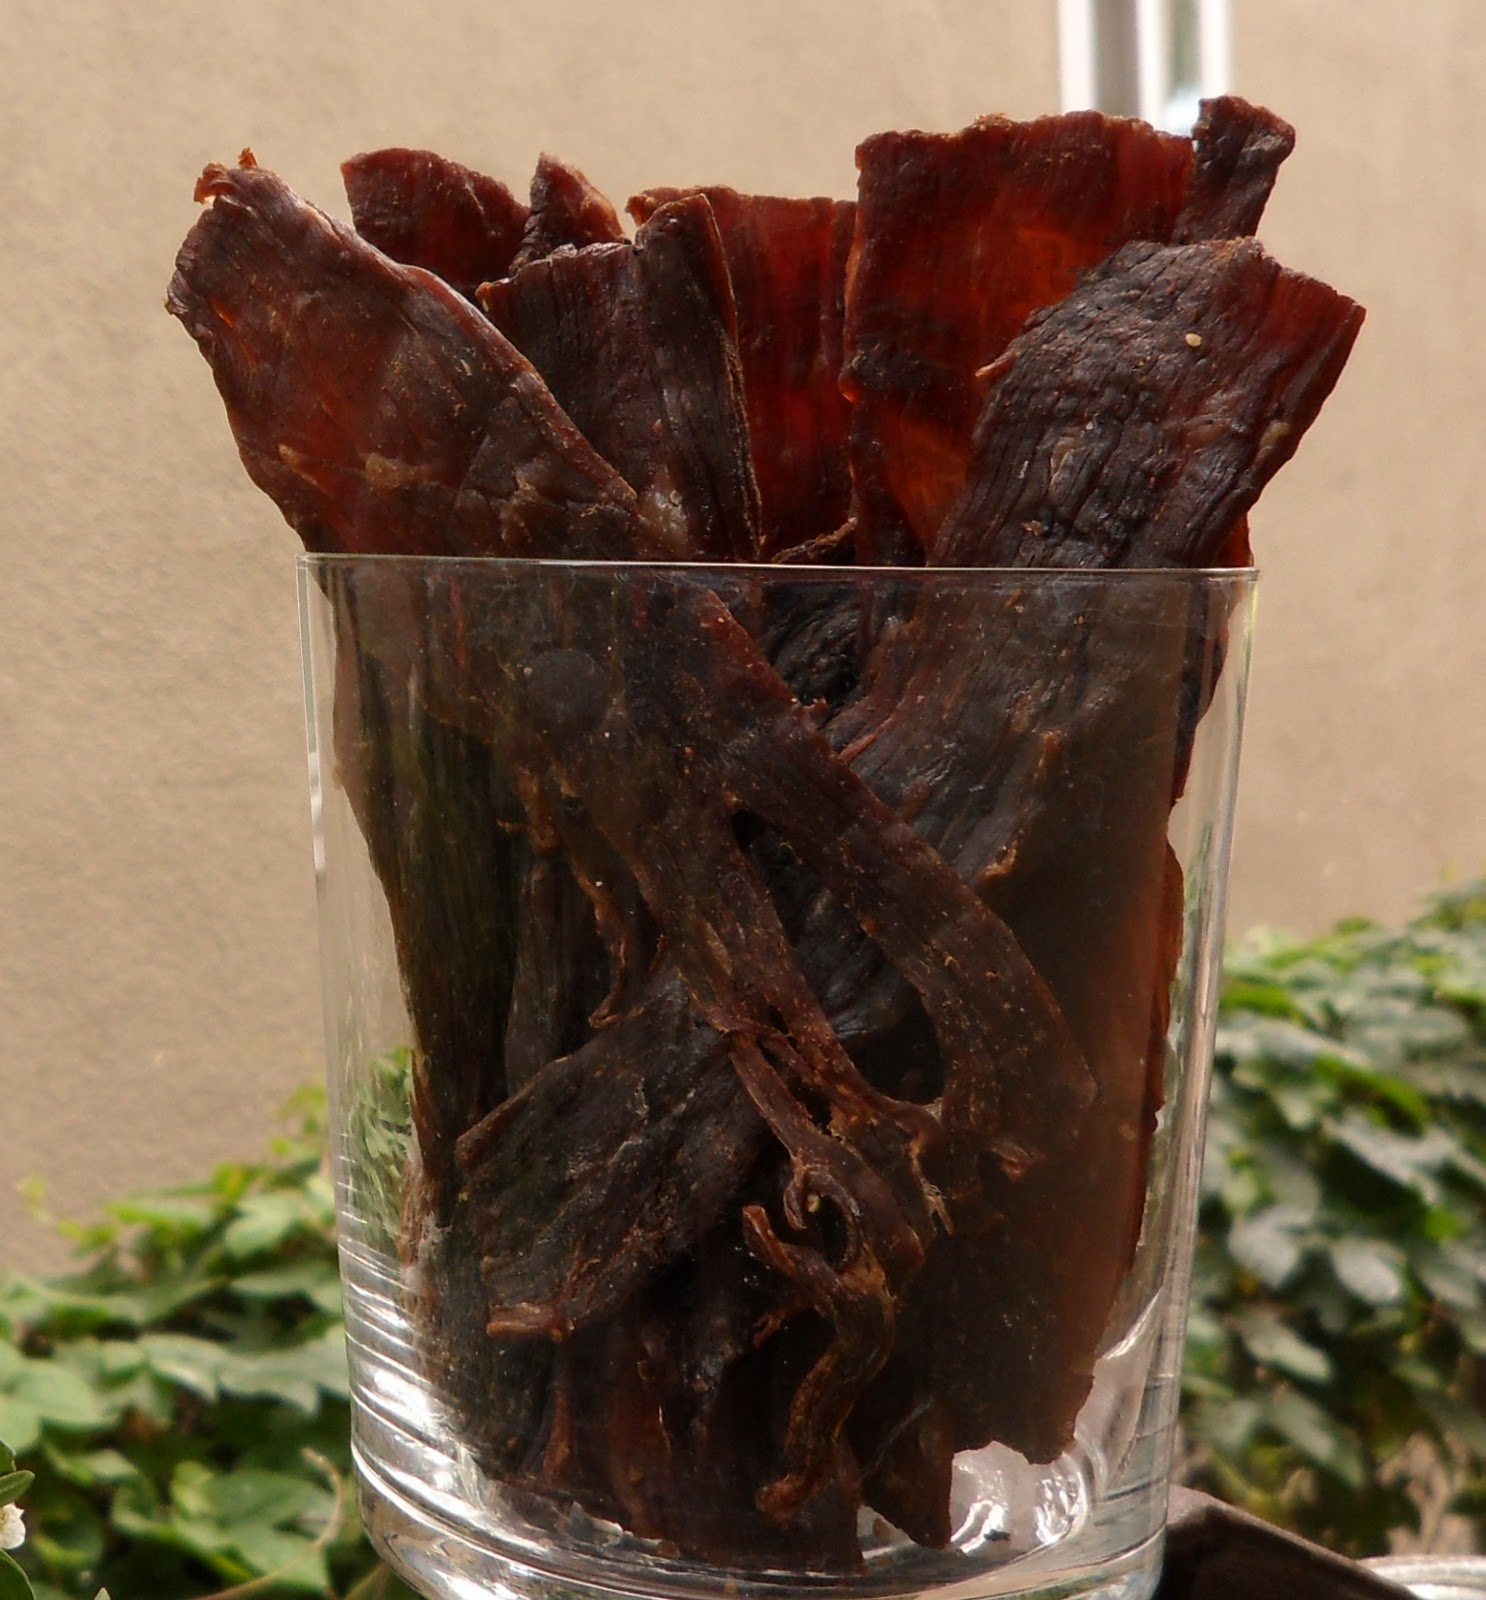
Here's a pic of some of my finished jerky. Overall I spent about $5 on my jerky meat and got about one and half times the amount of meat in a typical $7 - $10 bag of store bought jerky. Hands on time was probably 25 minutes overall, as most of the work is inactive while it marinates and then dries.


I thoroughly recommend investing in a dehydrator and trying out this yummy jerky recipe. Your friends will think you're so cool.

*NOTE: In case you were wondering (as I was) if "doneness" is a word, check out my new favorite website isthisaword.com.

Tuesday, December 14, 2010

Homemade Jerky

So I'm keeping to a lean budget these days but I still want to eat well - and homemade. I won't skimp on ingredients so I've found one of the best ways to extend my dollars is by making everything from scratch, even those items that you'd never imagine making at home. Crackers, bread, jam, all of those items we're so used to buying from our favorite store brands are great, but nothing compares to making it yourself.

One of the "luxury" items I'm keeping out of the grocery cart these days is beef jerky. I love the store bought kind but I only buy the best brands (organic, grass fed beef), hence the luxury. In order to make this at home (which I've done a few times before) I looked up several recipes and built the one that suited my tastes and wallet, and best replicated my favorite packaged brands.

Since I live near LA's Korea town, I'm apt to visit the ethnic grocery stores in the area and one thing the Koreans do very well is beef. Top quality and perfectly cut for Korean BBQ cooking, these neat little cuts of meat are perfect for producing great tasting (and looking) homemade jerky.

In my research, I found many recommended using beef eye of round or top round for jerky. For today's batch I chose an eye of round pre-cut in a neat 5 inch by 7 inch rectangle. It's so pretty! And don't you love the "FRESH" sticker, as if that's the signifier for quality? Love it.
I got out my fabulous ceramic knife (which makes cutting meat super easy) and began by cutting the rectangle into four equal sized pieces. I cut with the grain because Daniel likes the "chew" you get cutting it this way. If you prefer a jerky that more easily falls apart and is easier to eat, try cutting against the grain. Depending on the cut of your meat and the amount of marbling (fat), your jerky may need to dehydrate less since the fat is more distributed in little pockets. But I'll elaborate on that in my next post. Back to my meat...
The meat I bought was about 1/2" thick so to make the pieces a little less toothsome, I very carefully sliced them to a few milimeters thick. Depending on the piece, this meant cutting horizontally either in half or thirds.  The below picture illustrates just how thin I like to cut it.
Once my meat was properly sliced, and of generally equal sized pieces, I made my marinade. The marinade I like is a mix of several Asian style sauces I always keep in the fridge. Recipes vary greatly so feel free to add/subtract based on your tastes.
Pour the following into a flat-bottomed ceramic or glass pan/bowl so that when you place the meat everything will be swimming in the sauce. No diving!

1/4 cup soy sauce
1/3 cup teriyaki sauce
1/4 cup rice wine vinegar 
2 tablespoons worcestershire
3 tablespoons ponzu sauce (I swear, I could drink this stuff it's so good)
Juice of one lime
2 cups water (enough to cover the meat once added, add a little more if needed)
Few cranks of black pepper

Once I added the meat, I weighed it down with a plate and put in the refrigerator. Depending on the flavor you want, I recommend anywhere from a few hours to a day. I'll probably leave my in until the morning (I put it in the fridge around noon today).
To finish, drain the marinade, dry each piece of meat on a paper towel until the surfaces are dry and arrange them in a single layer in your dehydrator. I'll capture this when I do it tomorrow and provide an update. I'll include tips on the best dehydrator temperature and length of time, as well as how to know when it's done.

I can't wait to get my meat on!